How to Make a Professional Website with WordPress.com The Easy Way
If you’re dreaming of starting a website, free and looks professional, consider WordPress.com.
WordPress.com provides a platform for you to create your own professional website. Whether you want to share your ideas, artworks, discoveries, study notes, and more; you can do it here.
I am referring to the Free Plan of WordPress.com here. The company has paid plans, and these are worth considering too.
Let us get started. Here is how to make a professional website with WordPress.com the easy way.
Table of Contents
What is WordPress.com?
WordPress.com is a web building platform for self-publishing that is popular for blogging and other works. Automattic, Inc. runs the platform, the same company behind the open-source content management platform WordPress.org.
WordPress.org is a CMS that can be used to create website. WordPress.com uses the same CMS but instead of you having to manage or install it on a server, the CMS is already installed and can be used for free by hobby bloggers or individuals.

Benefits of WordPress.com is that everything is handled by the company – updates, backups, and security – which enables you to focus on your content. The free plan enables you to start creating a website without spending anything but has some limitations – which include ads on your site, and the “Powered by WordPress.com” text.
Moreover, should you upgrade to higher tier plan or migrate to WordPress.org later, the transfer set-up would be much easier.
How to Create an Account with WordPress.com
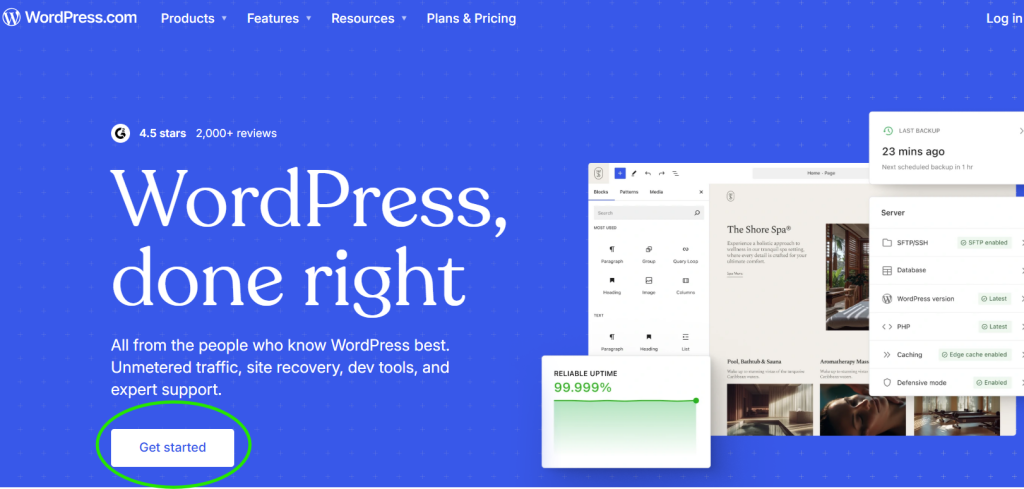
To start creating an account with WordPress.com, head over to the website https://wordpress.com/ and click Get Started.
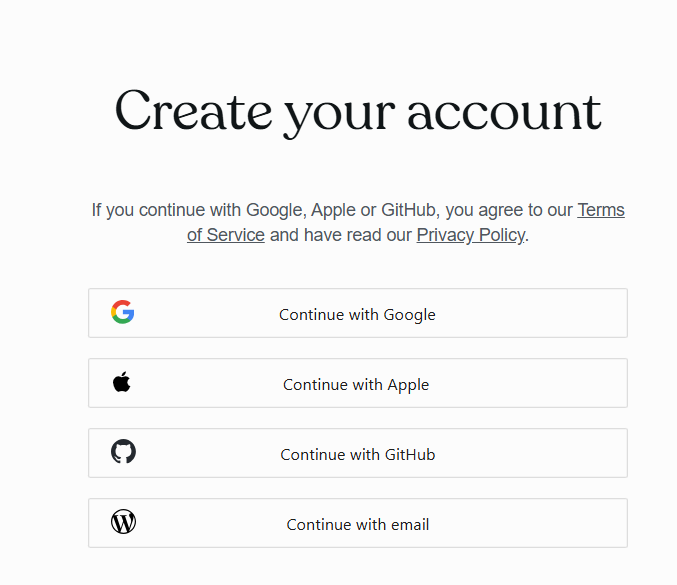
You will be directed to this page, where it’ll ask you to create an account with the following options: (a) Google, (b) Apple, (c) Github, or E-mail.
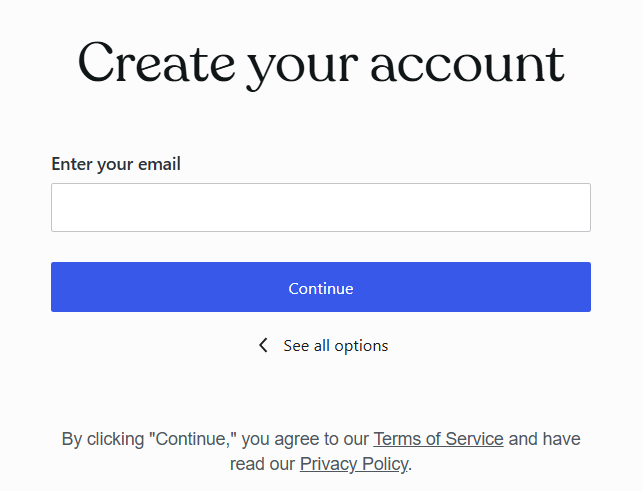
For this tutorial, I am going to create an account via e-mail. If you choose the other options, simply grant the needed permission. Since we’re using e-mail, next page would ask for an e-mail account. Enter your email account and click continue. Note that by clicking continue, you agree to Terms and Conditions, as well as Privacy Policy of WordPress.com.
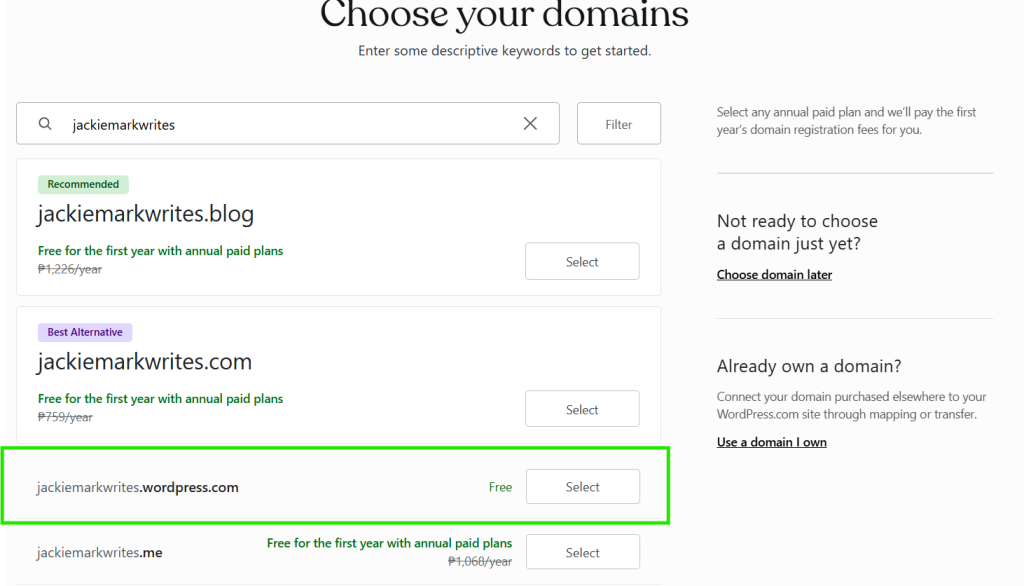
Next page would ask for your desired domain name. You can choose premium domain names (which comes at a cost) or purchase a free .wordpress.com subdomain. I would go to the free option with jackiemarkwrites.wordpress.com. Click select, and then continue.
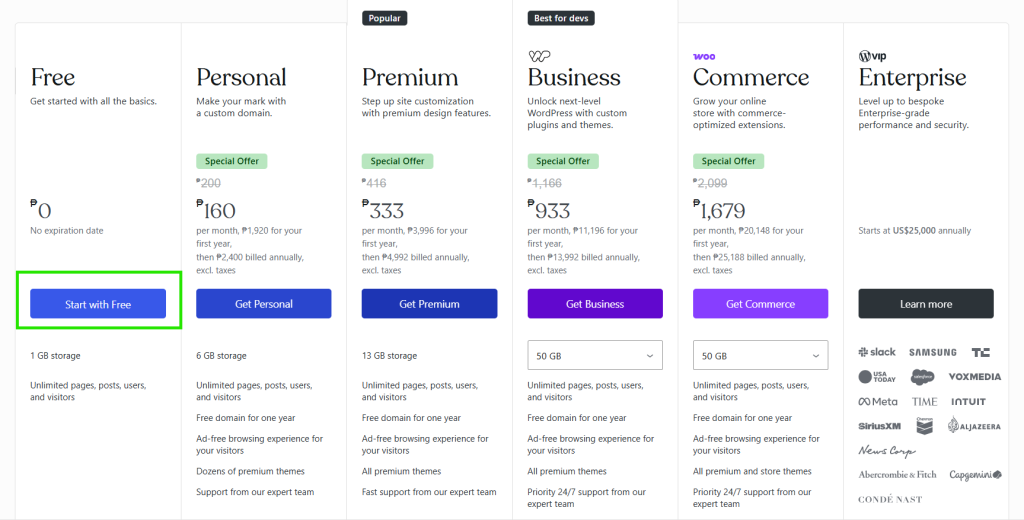
WordPress.com would then offer you several package plans – free to enterprise. We’ll go for the free option and click Start with Free.
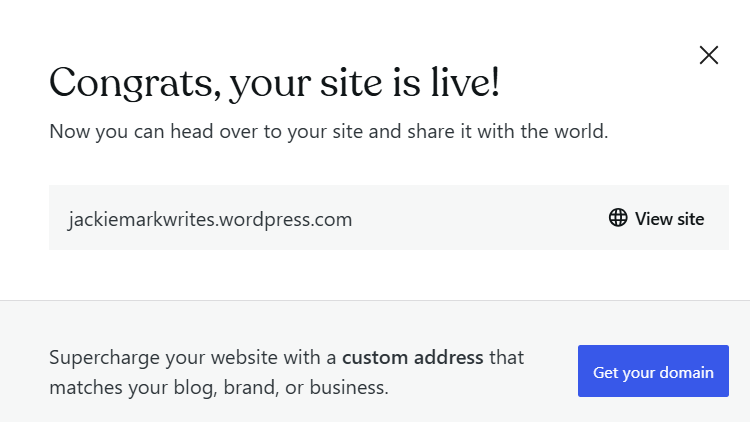
Congratulations, your website is now live. You have created an account.
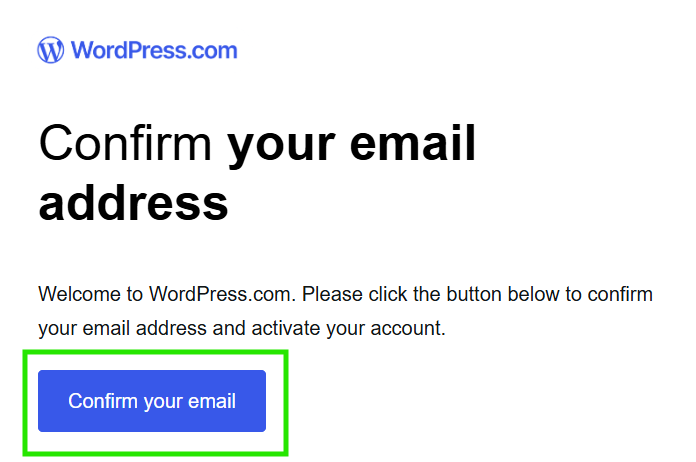
As an additional but crucial part of the account creation process, go to your e-mail account, find the e-mail from WordPress.com, click Confirm Your Email.
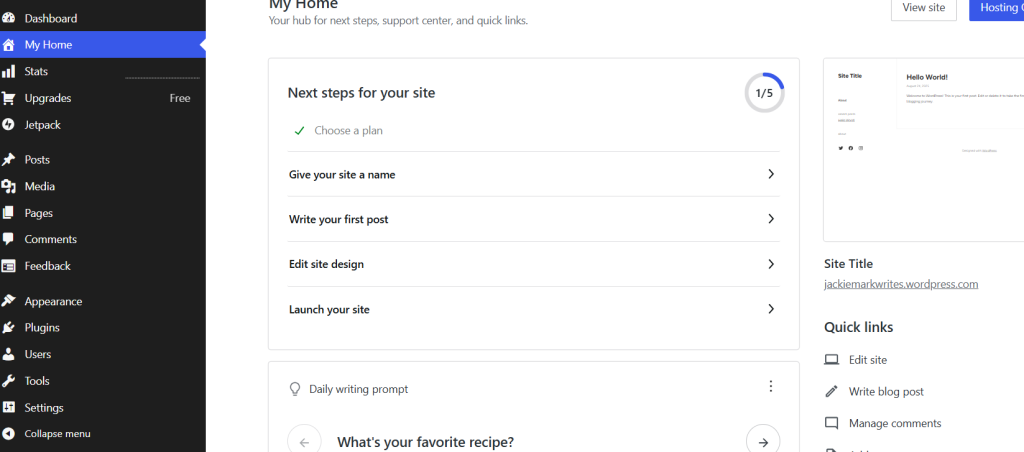
You will return to your admin dashboard, click Launch site.

WordPress.com will ask you if you want to keep the earlier chosen domain name and will offer you (again) to upgrade your plan. I have selected options to keep the free domain and remain on the free plan.
Set Everything Right First With Settings Menu
There is a list of menus on the admin panel, you can start experimenting with any of those. This is your first WordPress.com website, and it’s free so you can do as you please and learn as much as you can.
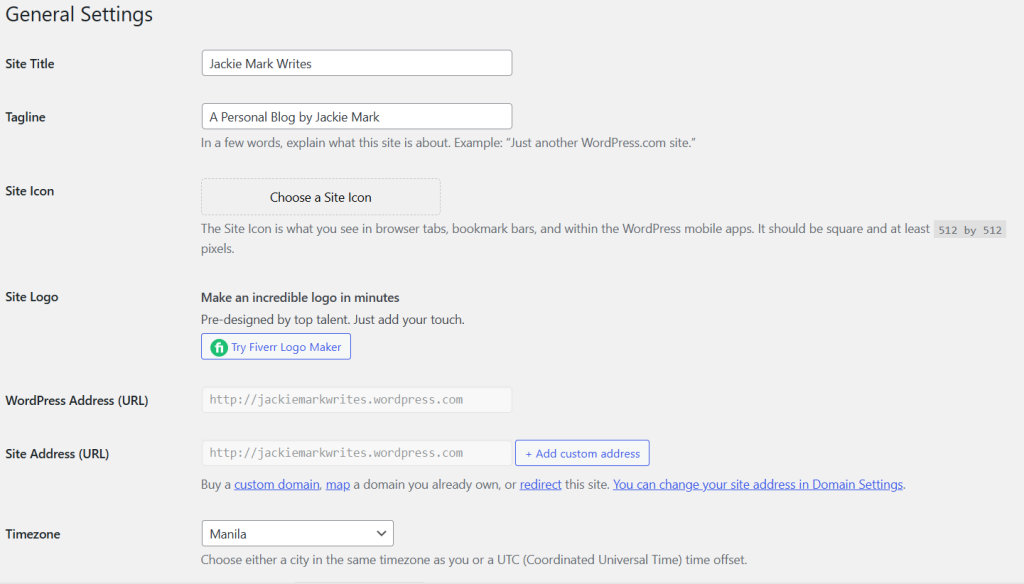
Since this is a tutorial, and it would be more comfortable to set everything up before moving to the other options. Let us start with the settings. Upon clicking the settings, you will be directed to the General Settings. Here, you can input your website name, tagline, site icon, site logo, timezone, date and time format, etc. Click Save Changes if you are done.
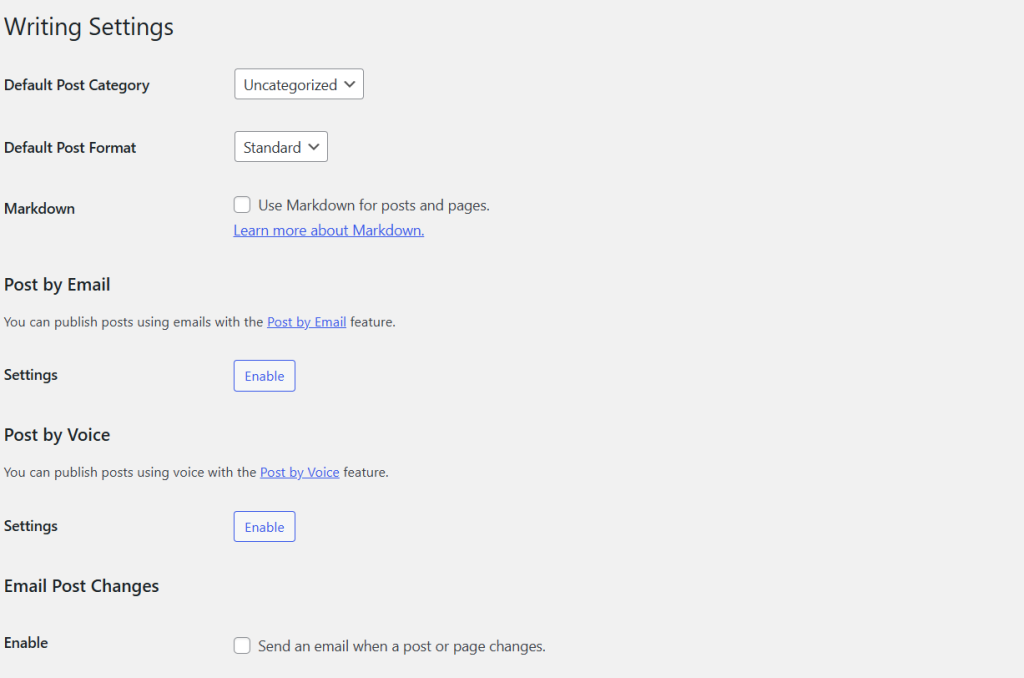
In the Writing Settings, select the Default Post Category, Default Post Format, Markdown, Post by Email and Post by Voice, and Custom Content Types.
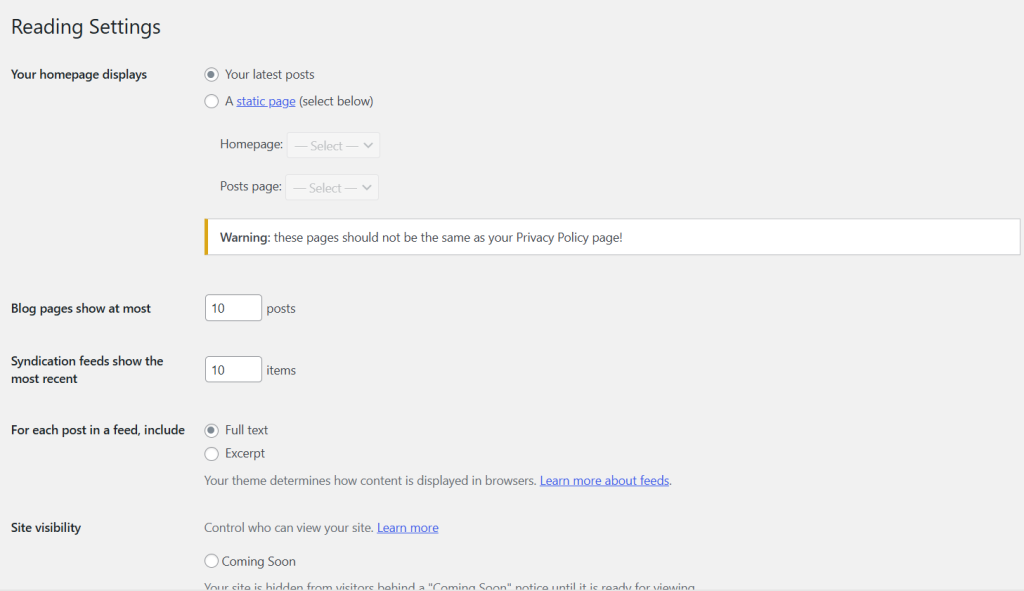
Under Reading Settings, you’ll decide what page will serve as home page, how many articles appear on blog page, number of articles appearing in rss, whether excerpt or full post, site visibility (coming, public, private), and related posts (include, if yes how would it appear on the site).
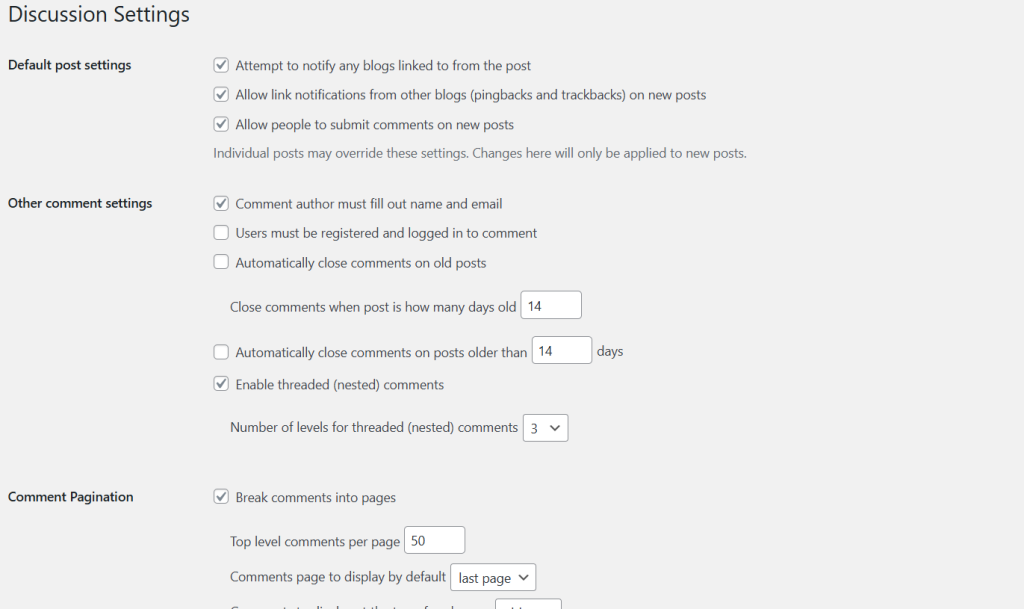
The Discussion Settings are options on link notifications, comment, comment pagination, comment pagination, how comment appears, avatar of commenters, and more.
Media Settings include settings on image (thumbnail) sizes, image carousel, and podcasts.

I will not go deeper on the other options in the settings menu. Options for Privacy and Permalinks settings are available for paid plans only. This is while Sharing, Crowdsignal, and Ratings are easy to understand, moreover not much of high importance to modify for individuals new on WordPress.com platform.
Make Your WordPress.com Website Look Cool with Themes
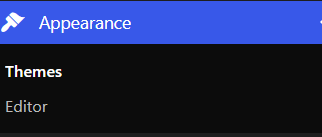
For the fun part, let us go the Appearance menu where we are going to choose a theme. Theme refers to the website design that is pre-made by WordPress designers, but you can later make some customization. With themes, you do not need to start designing from scratch.
Theme selection is organized across many categories: blog, portfolio, business, store, art and design, about, real estate, health and wellness, and more.
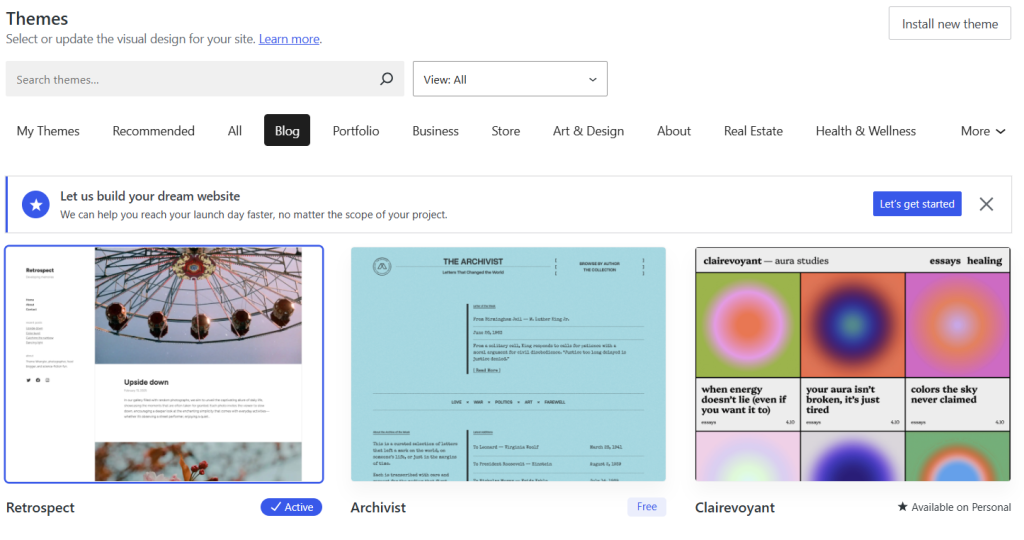
Options are almost unlimited; you can take time scrolling and experimenting with the designs. If you want to install your own theme or a theme purchased from another store, you’ll have to upgrade your plan. Premium themes are also available, but we will limit our options to the free themes.
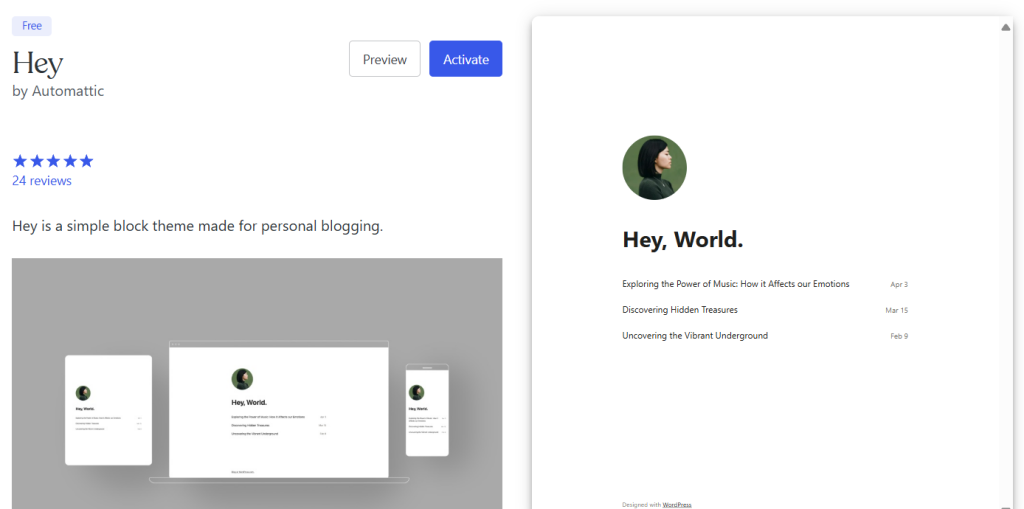
Since I am planning to make a minimalist WordPress.com website, I have chosen the Hey theme. Click the Theme and Activate.
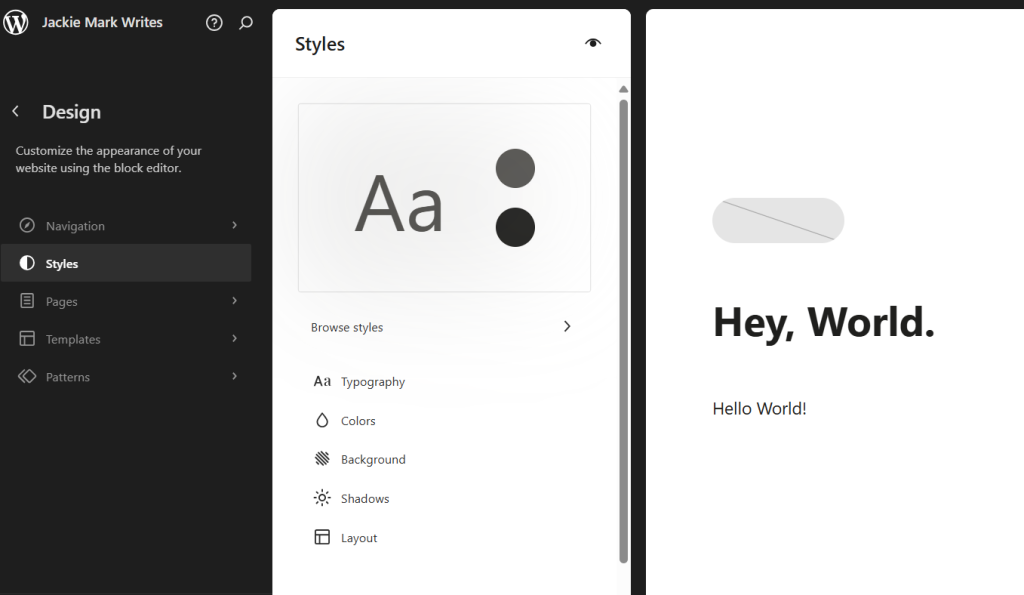
Upon activation, move to the Editor part of the Appearance menu. Upon clicking, you will go to the Design options, options include Navigation, Styles, Pages, Templates, and Patterns.
Navigation refers to a customizable list of links that helps visitors navigate important areas of a website. Here, you can add links going to Home Page, About, Contact, and other important parts of the website. Under Styles, you can customize your websites typography, colors, background, shadows, and layout. Templates portion helps you create new templates or reset any customizations made to the templates supplied by the theme.
For now, however, I will leave the settings to the default.
Creating Blog Posts on WordPress.com Website
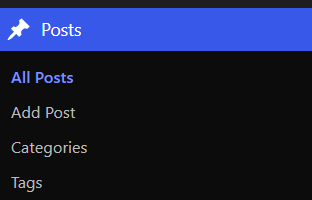
Now, let us move to creating at least four blog posts on our website. Go to the Posts menu, click All Posts.
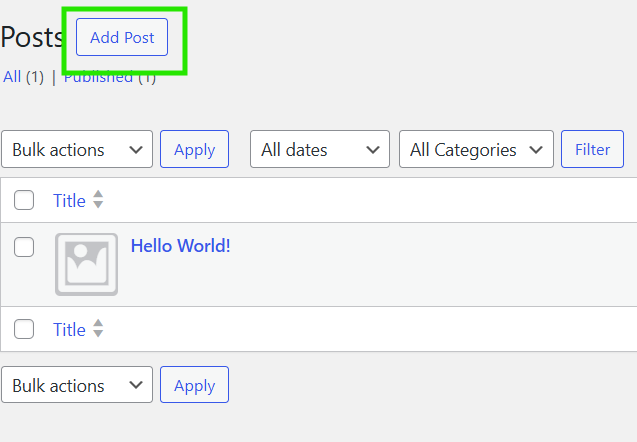
On top, click Add Post.
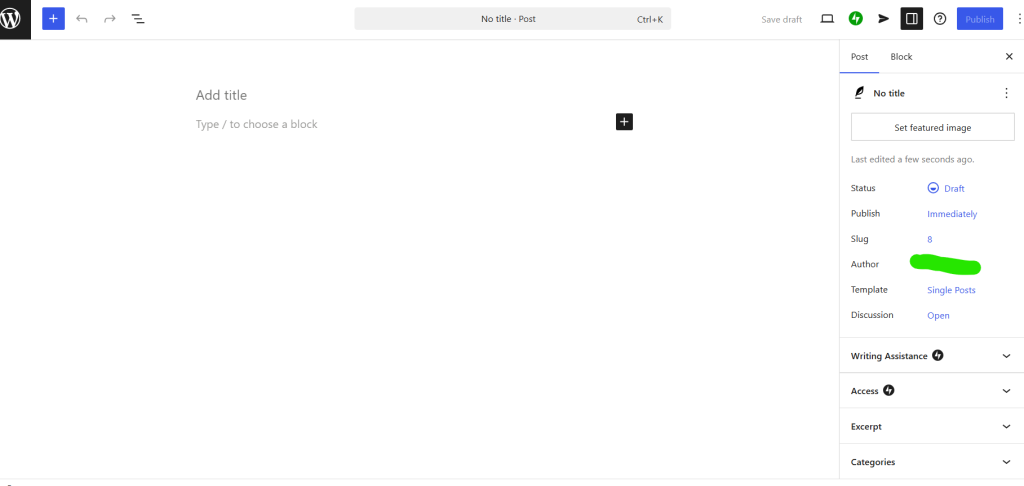
You will be directed to the post editor. Create one by filling in Title, Content, Featured Image, Category, and Tags. Title refers to the distinguishing name of the written article, Content refers to the article content itself (headings, sentences, paragraphs, media), Featured Image is the image that is a visual representation of the blog that it is assigned to and automatically become the blog post’s thumbnail. Category create a clear hierarchy for the content of the blog, they are broad fundamental topics beneficial for article navigation in a blog. Tags, on one hand, are optional but helps related content across different categories and are perfect for specific topics that appear in multiple post.
After putting in your title, content, featured image, category and tags, you are now ready to publish your article. To make it live, hit the Publish button.
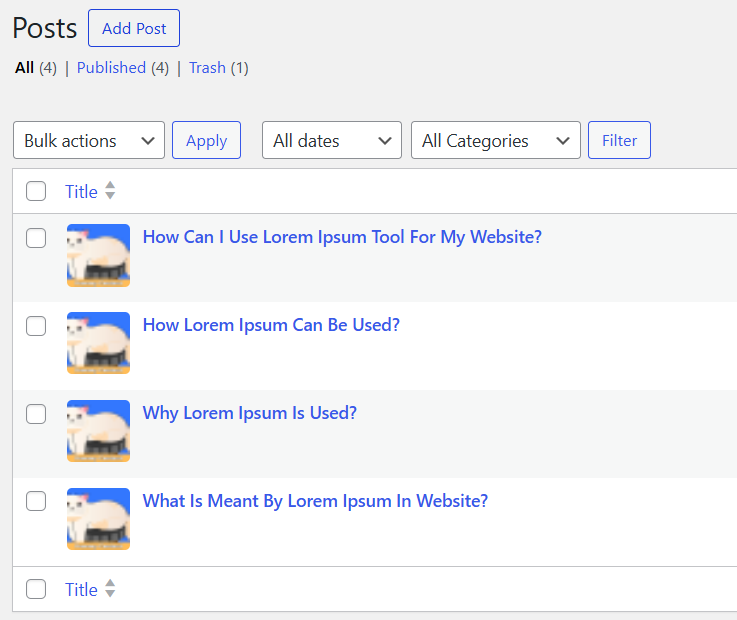
I have created four blog posts on the blog. Contents are dummy, generated by incrementors.
Creating Blog Pages on WordPress.com Website
Moving to the blog page. Creating a blog page is almost similar to creating a blog post. The difference is the content. Contents on pages are information that you want your readers to be aware of but don’t expect to update frequently. Blog posts, on one hand, refers to the articles you regularly upload on your website.
Common pages that should appear on your website are:
- About. This refers to a post about the story behind the blog, the author, or what the blog seeks to provide to its readers.
- Contact. This contains information how to contact the individual/s behind the blog, and may include: phone number, e-mail address, and physical location.
- Terms and Conditions / Privacy Policy. These are legal information that should be placed in a website, detailing how the website handles privacy of the users and agreements between the blog reader and blog owner.
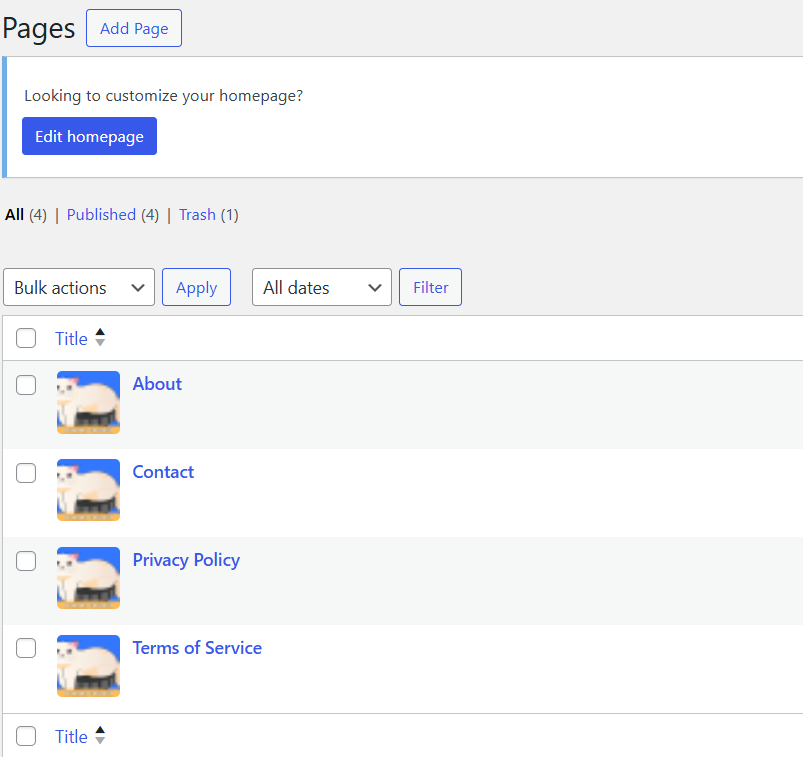
To start creating a page, go to the Pages menu.
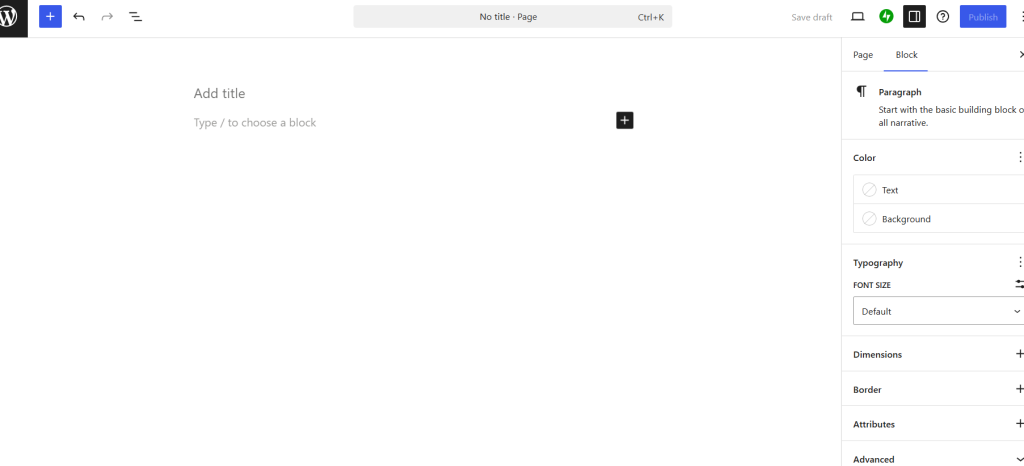
Click Add Page.
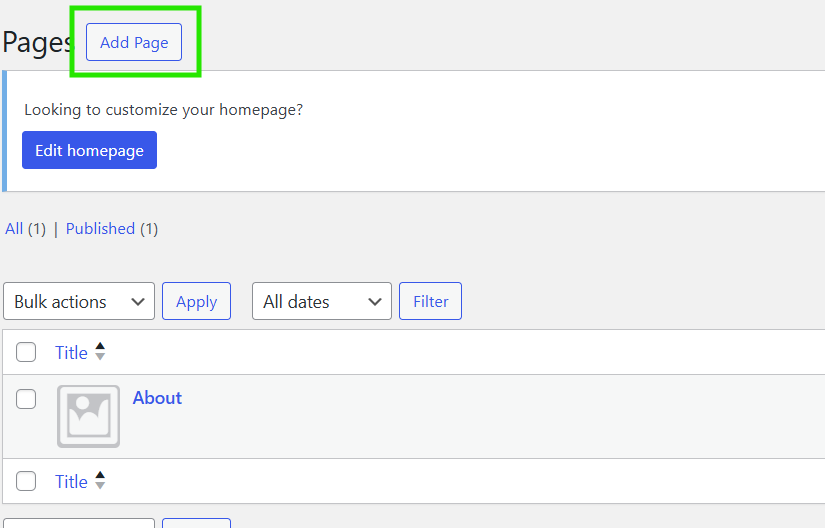
You will be directed to the page editor. You can now start writing contents for your blog page, same on blog post creation. Difference is that Categories and Tags are not available since these are blog pages.
In this tutorial, let us generate contents for the three vital pages that should be on each site. I will be using incrementors. Input the Title, Content, and Featured Image. Hit publish.
Final Touches on the Editor Menu
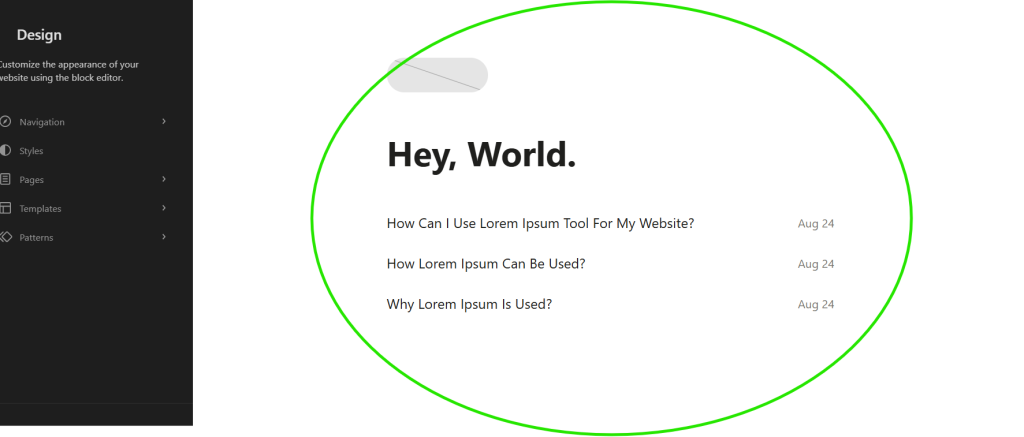
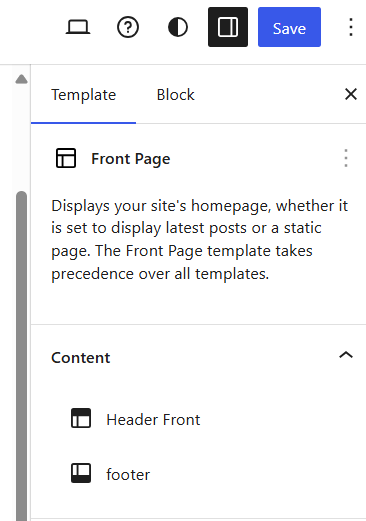
This time, we are going back to Appearance > Editor menu for the finishing touches. Click any part of the homepage design (see image below) for visual editing.
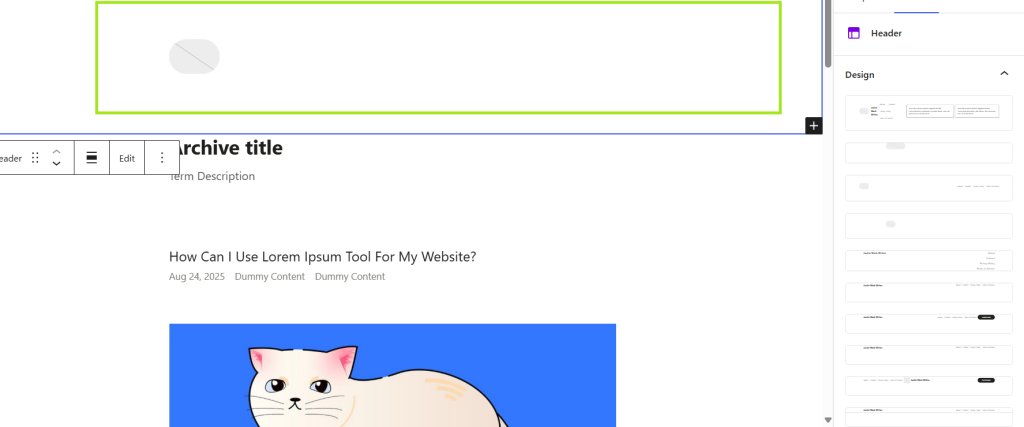
First, we’ll edit the Header Front. Click the Header (highlighted with red), then select any of the header blocks (highlighted with yellow). I have selected Header 2 as the website header, since it beautifully includes the site title and the menus. If you choose the one where you’ll need to upload an image header, be sure to have an image of the same size as needed header.

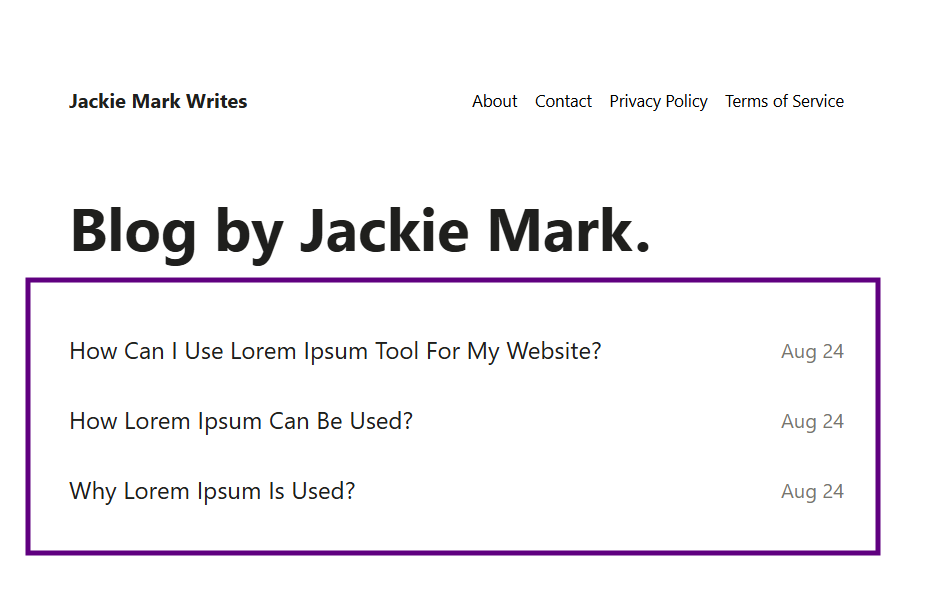
Next, we’ll edit the front-page heading (highlighted blue). You can leave the Hey, World. text or customize it with your own tagline. I’ll replace it with, Blog by Jackie Mark.
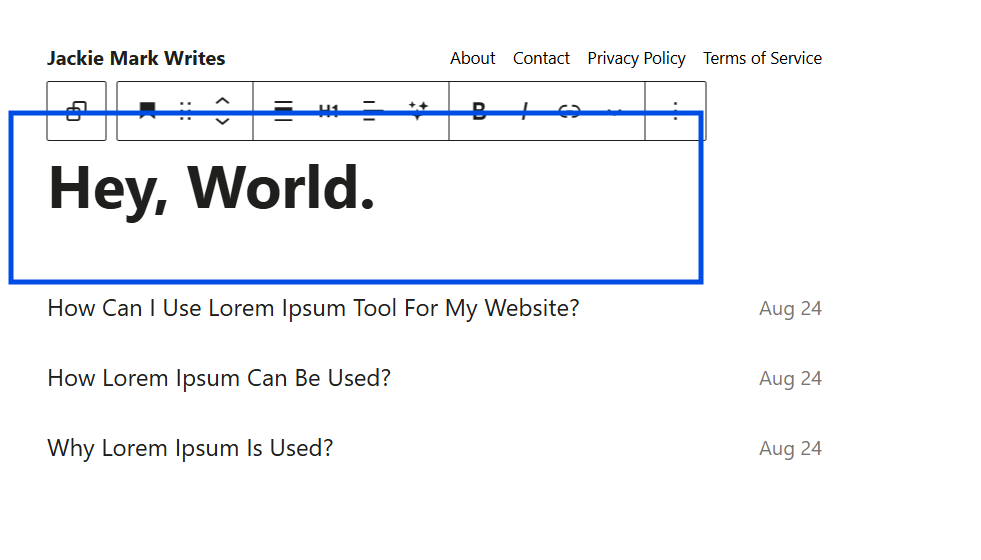
Leave the blog posts list as is (highlighted violet).
Save the changes.
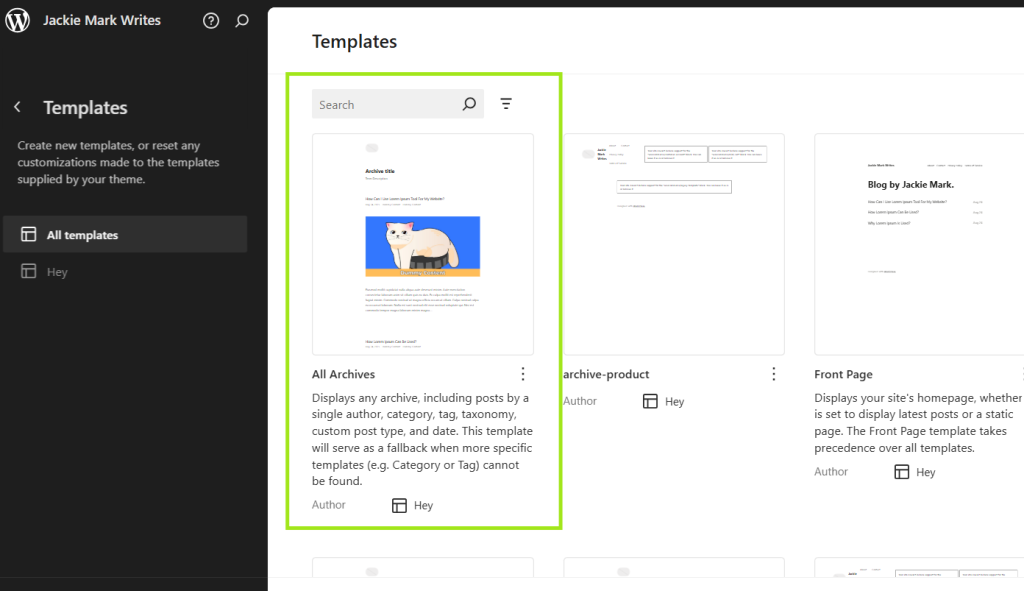
Moving to archive, archive is a collection or group of published posts that have something in common. To do this, go to Editor > Templates > All Archives. Click the All Archives and start editing.
We’ll replace the default header with Header 2.
Do the same for Pages.
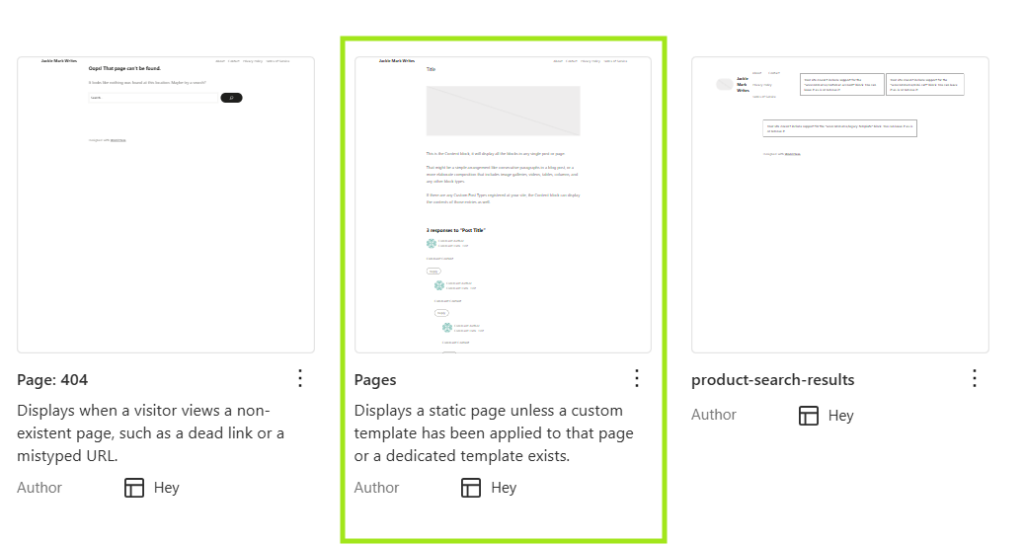
Also, with Single Posts.
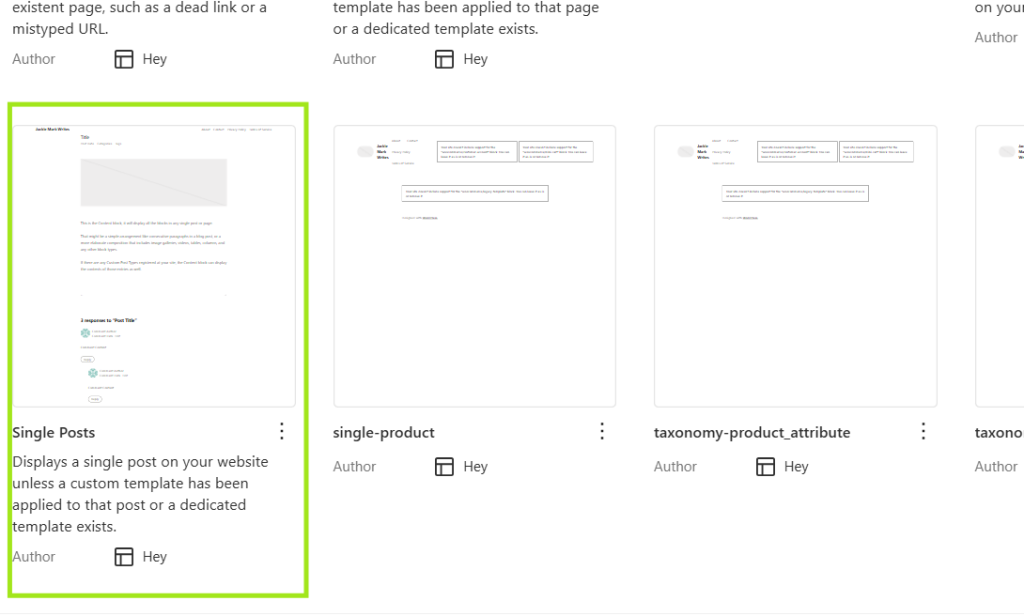
And with other Templates or as needed.
Well done, you have just learned how to create a WordPress.com website. Our tutorial output can be viewed at https://jackiemarkwrites.wordpress.com/
Creating a Site with WordPress.com is Quick and Easy
Overall, website creation with WordPress.com is very easy.
With it, you do not need to undergo the process of purchasing a domain, a hosting, learning website installation and more. Simply sign-up and start experimenting with the menus and sub-menus.
It is worth noting that you are making your website with the same CMS used by Sony Music, Meta Newsroom, TechCrunch, Time, Magazine and CNN Press Room – and it is free. Basic features are provided at no cost, if you want to have sites as beautiful as the top sites, you’ll either have to purchase a higher plan or use the WordPress.org CMS in a hosting site.
If you’ve tried other website creation sites before, chances are this process would feel like breeze.
Keep creating contents, and the whole world is your audience. Go, WordPress.com.


News on Your Inbox
Fresh insights and exclusive perks delivered straight to your inbox. Sign up now.